
How to let your AI client work with the content projects your team already runs in Clipflow
Connect ChatGPT, Claude or another AI client to Clipflow with the MCP server to read your projects, find media, upload files, draft posts and manage design templates.
Updated
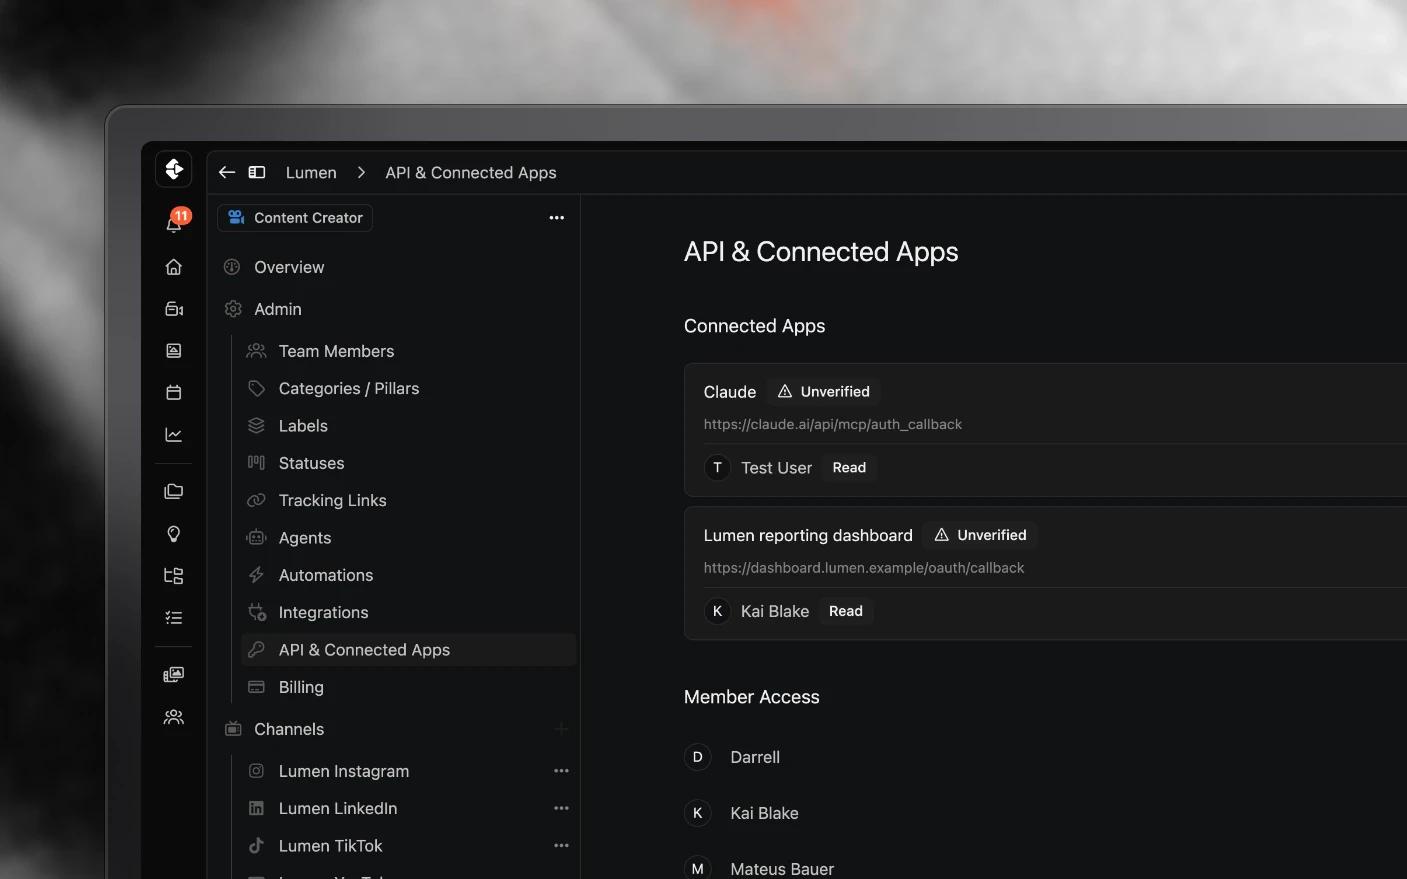
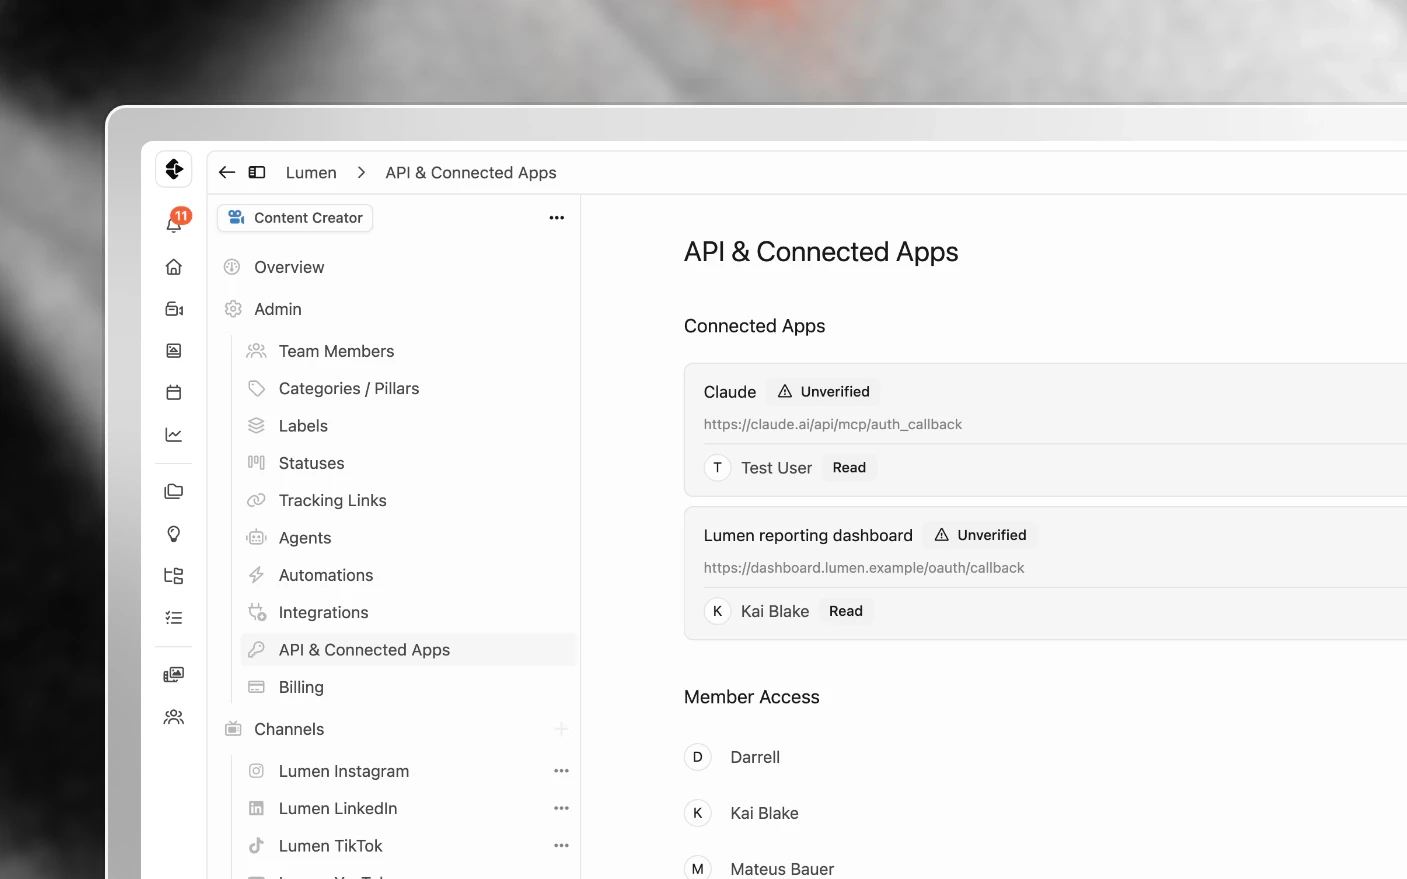
Give an AI assistant the context it needs without copying project details into every prompt
Clipflow runs a Model Context Protocol server, so an AI client like ChatGPT or Claude can work in your workspace directly. Ask what is due this week, or which posts failed to publish, and the answer comes from your actual projects rather than something pasted into a chat. With write access switched on, the same client can set up a project, upload files to it, find a clip by describing it, draft a post with that clip attached, and import a design template.
Endpoint: https://api.clipflow.co/mcp
This is separate from the AI Agents inside Clipflow. Agents live in your workspace and comment in it. The MCP server brings your workspace into an AI client you already use.
Before you start
- An AI client that supports remote MCP servers over HTTP.
- A Clipflow account with access to the organizations you want to read.
Step 1: Add the server to your client
Add https://api.clipflow.co/mcp as a remote MCP server in your client’s connector settings.
The server publishes its protected-resource metadata for discovery, so most clients handle registration and authorization themselves without any manual configuration:
https://api.clipflow.co/.well-known/oauth-protected-resource/mcpStep 2: Authorize
Your client opens Clipflow, you sign in, and a consent screen lists the scopes being requested, grouped into Analytics, Content, Projects & Media, and Workspace. Approve it and the client holds a token scoped to what you agreed to.
A new connection asks for read permissions only, whatever the client requests. Writes are switched on from inside Clipflow, as described in Let the connection make changes.
The consent screen is titled Authorize Access. It also has an Organizations picker, and the connection can only reach the organizations you tick. A first connection starts with none picked, so nothing is shared until you choose. The Approve button stays off until you pick at least one.
The connection sees what you see in those organizations. It cannot reach organizations you are not a member of, and it cannot do anything your own permissions do not allow.
To change the list later, open Organization settings → API & Connected Apps and use Remove beside an organization under the app. That withdraws one organization and leaves the rest connected. Removing the last one disconnects the app, and its next request sends you back to the approval screen.
Step 3: Use it
Once connected, these tools read your workspace:
| Tool | What it returns |
|---|---|
whoami |
The signed-in user |
list_organizations |
Organizations you belong to |
get_organization |
One organization with the statuses, categories, custom labels and team members its projects can use |
list_projects |
Projects, filterable by organization, assignee, channel, status, category, priority, and title |
get_project |
One project |
project_overview |
A project with its tasks, media, and posts |
list_media_files |
Media files, filterable |
get_media_file |
One media file |
list_asset_files |
The files in a project or folder that are not videos, such as images, audio and documents |
list_folders |
Folders in the File Library, filterable by organization, parent folder and title |
find_existing_files |
Which of a set of files are already in a project or folder, so the same file is not uploaded twice |
get_upload_link |
A link you open in your browser to upload files to a project or folder. The tool uploads nothing itself |
find_media |
Media matching a plain-English description, such as “a man on a roof at golden hour” or “where he mentions the guarantee”. It searches captions, tags and transcripts across media files and library files |
list_posts |
Posts, filterable |
get_post |
One post, including the files attached to it |
channel_product_lookup |
Channels and the post types they support |
analytics_overview |
Channel and post performance |
list_designs |
Designs you can see, newest first. Pass is_template to list templates instead |
export_design |
One design as a clipflow.design document |
get_design_schema |
The JSON Schema a clipflow.design document has to match |
Designs are the layouts Clipflow renders into a post’s slides, such as a carousel. A template is a design your team reuses.
These tools make changes, and only run once the connection has write access:
| Tool | What it does |
|---|---|
create_project |
Creates a project, or a sub-project under an existing one. A sub-project picks up its parent’s category, relevance, labels and team members. It can also start from one of your project templates |
update_project |
Edits a project’s title, description, status, category, priority, schedule date, labels and team members, and archives or unarchives it. Only the fields sent change |
create_post |
Creates a draft post with a title, caption, channel, post type, tags, schedule date and attached files. Pass a project to add it there, or an organization alone to start a new project for it |
update_post |
Edits a post. Only the fields sent change, and posts that are Ready or Done cannot be edited |
import_design_template |
Imports a design template from a clipflow.design document. Importing a template under a key the organization already has updates that template |
add_file |
Adds an uploaded file to a project or folder. A video becomes a media file, and anything else becomes a library file |
create_file_upload, prepare_file_upload_parts, complete_file_upload, abort_file_upload |
Upload a file from your computer in parts, for clients that can read local files. Clipflow checks the finished file before add_file places it |
No tool deletes anything, and no tool publishes. Archiving a project with update_project hides it the same way archiving does in the app, and it can be unarchived. A post an AI client drafts still goes through your team’s review and scheduling in Clipflow before it reaches a channel. See Post Scheduling.
Questions that work well:
- “Which projects are overdue in the agency organization?”
- “Summarise what my team shipped last week.”
- “Which posts failed to publish this month, and on which channels?”
- “What is assigned to Sam right now?”
- “Create a project called October Podcast in the agency organization, due on the 30th, and assign it to Sam.”
- “Find the clip where Ken talks about the guarantee and draft an Instagram Reel post with it in the launch project.”
Let the connection make changes
Writes need two things in the organization: the connection has to hold the write scopes, and you have to be allowed to write through apps.
- An organization admin opens Organization settings → API & Connected Apps and sets your access level to Write. Everyone starts on Read, which lets apps acting as you read but not change anything.
- An admin or manager finds the AI client under Connected Apps, opens Permissions, and ticks the write scopes it needs:
- Create and edit posts and Create and edit projects for
create_postandupdate_post - Create and edit projects for
create_projectandupdate_project - Upload files and Upload and edit media files for
add_fileand the upload tools - Import and update designs for
import_design_template
- Create and edit posts and Create and edit projects for
- Saving the change disconnects the client. The next time you use it, it sends you back to the consent screen, and you approve the new set.
A write tool called without these returns an error naming what is missing, and nothing changes.
Connect the Claude app
The Claude website and desktop app connect to Clipflow as a custom connector. Custom connectors are on every Claude plan, and the Free plan allows one. Anthropic renames these menus from time to time, so if a label below has moved, look for connectors in Claude’s settings.
Add Clipflow as a connector
- In Claude, go to Customize → Connectors.
- Choose + Add, then Add custom connector.
- Give it the name
Clipflowand enter the server URL:https://api.clipflow.co/mcp - Keep the sign-in option so people sign in to connect. Claude registers itself with Clipflow, so there is no client ID or secret to copy.
- Choose Add, then connect it. Clipflow opens in a new window. Sign in, pick the organizations the connection can reach, and approve the consent screen described in Step 2.
On a Team or Enterprise plan, an owner adds the connector first, under Organization settings → Connectors, by choosing Add, then Custom, then Web. Each member then goes to Customize → Connectors, finds it, and chooses Connect.
Ask Claude about your work
- Start a new chat.
- Open the + menu at the lower left of the message box, choose Connectors, and turn on Clipflow.
- Ask your question, such as “Which posts are scheduled in Lumen this week?”
Claude asks before it runs a tool. Read the request before you approve a write tool such as create_post, and choose Allow always only for tools you are happy to see run without a check. Claude’s Research mode can run connector tools with no further approval, so turn off the write tools before you use it.
To see what the connection can do for a busy team, try the guides that start at Set Up Your Assistant.
Connect Claude Code
Claude Code runs in your terminal, and Clipflow accepts the local callback it uses to finish signing in.
-
In your terminal, add the server:
claude mcp add --transport http clipflow https://api.clipflow.co/mcp -
Start Claude Code and run
/mcp, select clipflow, and choose to authenticate. -
Your browser opens Clipflow. Sign in, pick the organizations the connection can reach, and approve the consent screen described in Step 2.
-
The browser hands the sign-in back to Claude Code, and the Clipflow tools are available in your session.
Ask for something the tools can answer, such as “Which posts failed to publish this month?” Claude Code can read your workspace straight away, and create projects, upload files, draft posts or import designs once the connection has write access.
Connect ChatGPT to Clipflow
ChatGPT connects to MCP servers through developer mode, which lets you add your own apps alongside the ones OpenAI lists. Once Clipflow is added, ChatGPT can look up your projects, posts and analytics in the middle of a conversation, and draft posts when the connection has write access.
Developer mode is on the ChatGPT website for Plus, Pro, Business, Enterprise and Education accounts. OpenAI renames these menus from time to time, so if a label below has moved, look for developer mode in your settings and for creating an app from the plus button.
Turn on developer mode
- Open ChatGPT in a browser and go to Settings → Security and login.
- Turn on Developer mode.
On a Business or Enterprise workspace, an admin has to allow custom MCP apps first, under the workspace settings for permissions and roles. If you cannot see the toggle, ask whoever administers your ChatGPT workspace.
Add Clipflow as an app
- Open the apps (or plugins) area of ChatGPT and choose the plus button to create a new app.
- Give it a name your team will recognise, such as
Clipflow, and a short description, such asProjects, posts and analytics from our Clipflow workspace. - Under the connection, enter the MCP server URL:
https://api.clipflow.co/mcp - Choose OAuth for authentication. ChatGPT registers itself with Clipflow, so there is no client ID or secret to copy.
- Create the app. ChatGPT lists the tools it found on the server, the same set as the tables above.
The app sits under Drafts in your app settings. It is yours alone until a workspace admin publishes it for everyone.
Sign in to Clipflow
The first time the app is used, ChatGPT opens Clipflow in a new window. Sign in and approve the consent screen, the same one described in Step 2. Approve only the scopes you want ChatGPT to have. Analytics alone is enough if all you want is reporting.
Ask ChatGPT about your work
- Start a new chat.
- Open the plus menu in the message box, choose Developer mode, and select your Clipflow app.
- Ask your question, and name the app if ChatGPT does not reach for it on its own: “Use Clipflow to list the projects due this week in Lumen.”
ChatGPT may ask you to confirm before it runs a tool. Read the request before confirming a write tool such as create_post, since that one makes a change in your workspace.
To disconnect, delete the app in ChatGPT’s app settings and remove the connection under Connected Apps in Organization settings → API & Connected Apps.
Tips and best practices
- Name the organization when you belong to several. It saves the client a lookup and gets you a straighter answer.
- Approve only the scopes you need. Analytics-only is enough for reporting questions.
- Turn on writes only where you need them. A reporting connection never needs write scopes. Give posting access to the connection that drafts posts, and leave the rest on read.
- Name the project when you ask for a post. Without one,
create_poststarts a new project titled after the post. - Remove connections you have stopped using from Organization settings → API & Connected Apps.
Frequently asked questions
Can an AI client change my projects through MCP?
Only when write access is switched on. A new connection reads only. With write scopes and a Write access level, it can create and edit projects, upload files, draft and edit posts, and import design templates. It cannot delete anything, publish a post, or edit a post that is Ready or Done.
Why does the AI client say it is not allowed to create a post?
The connection is still on read permissions, or your access level in that organization is Read. See Let the connection make changes.
Does it see all of my organizations?
No. It only reaches the organizations you approve on the consent screen, within the scopes you approved. Organizations you leave unticked stay out, and you can withdraw one later under Organization settings → API & Connected Apps.
Which AI clients work?
Any client supporting remote MCP servers over HTTP, including ChatGPT and Claude. Clients vary in how they discover metadata, and Clipflow publishes both common forms so either works.
Does Clipflow work with ChatGPT?
Yes. Add it as an app in ChatGPT’s developer mode with the URL https://api.clipflow.co/mcp and OAuth authentication. See Connect ChatGPT to Clipflow.
I cannot find developer mode in ChatGPT.
It is on the ChatGPT website, not the mobile apps, and only on Plus, Pro, Business, Enterprise and Education accounts. On a Business or Enterprise workspace an admin has to allow custom MCP apps before the toggle appears.
How do I disconnect?
Remove the connection in your AI client, and remove it under Connected Apps in Organization settings → API & Connected Apps.
Why does a `GET` to the MCP endpoint fail?
MCP requests are POST. GET and DELETE answer with 405 by design.
Is this the same as connecting an agent?
No. Agents run inside Clipflow and comment in your workspace. MCP brings your workspace into an AI client you already use, acting as you within the permissions you approved. See AI Agents.
Related articles
- API Overview: OAuth, scopes, and REST endpoints
- Webhooks: push events to your own systems
- AI Agents: AI that works inside the workspace
- Set Up Your Assistant: use cases and prompts for busy teams
Was this page helpful?
Related articles
Need more help with this?
Contact support