
Working with projects
Create projects, assign editors, set due dates, and keep production moving in one place.
Updated
Description
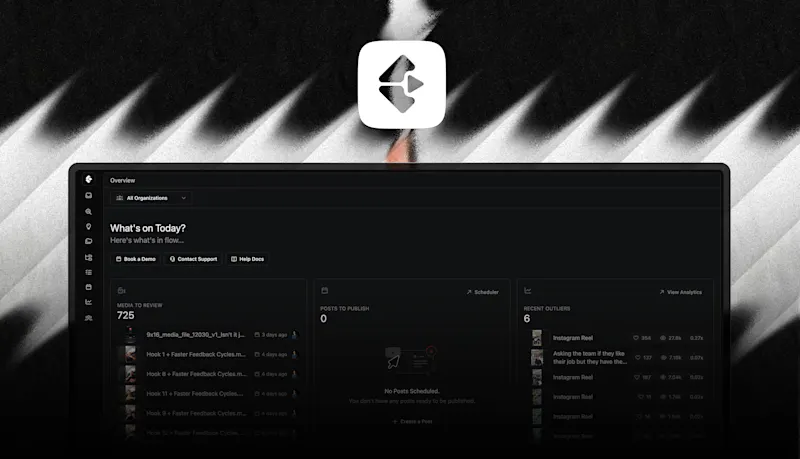
This guide walks through the Project Manager inside Clipflow. You’ll learn how to create new projects, use templates, organize ideas, manage tasks, upload media, structure scripts and notes, collaborate with your team, and navigate global views like the overview screen and task dashboard. This is the core workspace where most day-to-day content production happens.
What You Can Do in the Project Manager
1. Switching Organizations
- Use the organization switcher at the top of the screen.
- Instantly navigate between brands, clients, or internal teams.
- Filter projects within each organization.
2. Creating New Projects
-
Click New to create a project.
-
Choose from:
-
A project template
-
A project created from scratch
-
Set the title, outline, and project parameters.
-
Customize your templates in the Organization Manager (admin only).
3. Managing Your Ideas
-
Ideas live in the left column.
-
Drag ideas into any workflow stage:- Draft
-
Write
-
Ready to Edit
-
Review
-
Upload
-
Share
-
All statuses are fully customizable.
4. Inside a Project
When you open a project you’ll find:
Project Header
- Thumbnail preview (optional if not using YouTube)
- Scheduled date
- Upload thumbnail button
- Outline section
- Archive option
- Save Project as Template
- Next 3 upcoming tasks
- All media files for the project
Project-Wide Chat
- Located on the right side
- Used for discussions, updates, or internal notes with your team
5. Project Tasks
-
Create a repeatable process for every piece of content.
-
Assign tasks to different team members.
-
Each task has:
-
Its own due date
-
A full SOP/instructions field
-
Optional subtasks you can add and complete
-
Workflow is designed to be simple and reusable.
6. Thumbnails & Packaging
- Upload individual thumbnail files.
- Download or replace existing versions.
- Add notes for each concept.
- Link to Figma or upload PSDs.
- Leave comments directly on thumbnail options.
7. Pages (Notes, Scripts & Documentation)
Create as many internal pages as needed:
- Outlines
- Hooks
- Packaging notes
- Production notes
- Publishing notes
- Full video scripts
- Pages can be organized into folders for clarity.
8. Media Files & Review
-
Pending files appear in the Pending section.
-
Clicking a file opens:
-
The media player
-
Team chat for feedback
-
File attributes
-
Leave timestamped comments during playback.
-
Approved files move to the Approved section.
-
Download approved files anytime.
9. Share Links
- Select specific files for external review.
- Generate a shareable link.
- Non-Clipflow users can leave feedback directly into the system.
10. Asset Links & File Storage
- Link external storage (Drive, Dropbox, Riverside, etc.).
- Add raw files or cloud folders your team needs.
- Upload additional project files directly into Clipflow.
- Link related projects to create sub-projects or series.
11. Overview Screen
-
View all projects across all organizations.
-
Quickly see what’s:
-
Overdue
-
Due today
-
Due tomorrow
-
Due this week
-
Use filters to focus on specific clients, channels, or statuses.
12. Tasks Screen
-
See everything assigned to you:
-
This week
-
Next week
-
Later
-
View team member workloads to understand who’s busy or free.
-
Use this view to manage capacity across editors and creators.
Need Help?
Use the in-app support button to submit a ticket. The team can help troubleshoot, set up workflows, or optimize your project structure.
Was this page helpful?
Related articles
Project overview
How a Clipflow project holds tasks, media, packaging, and publishing for one piece of content.
Using posts in projects
Draft, review, and schedule social posts tied to the project they promote.
Welcome to Clipflow
A full tour of Clipflow for creators, agencies, and teams starting structured content production.
Need more help with this?
Contact support